Steps for Verifying Your Application
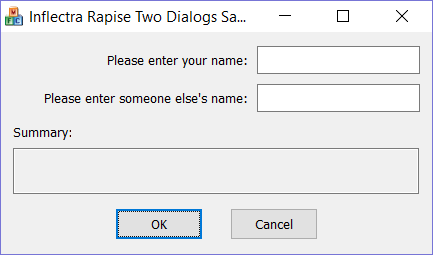
Launch your application normally. In this example we shall be using the sample TwoDialogs Windows Application that we know works correctly:
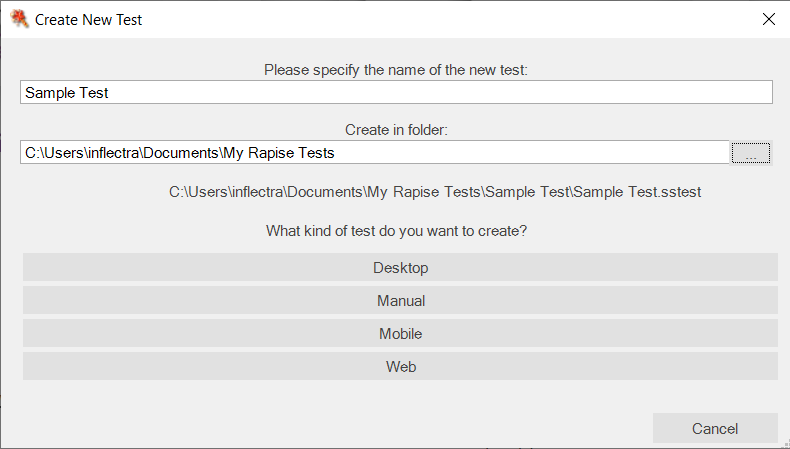
Now start up Rapise, create a new test and choose Desktop test kind:
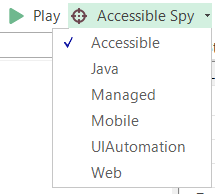
Next, select the Accessible Spy from the list of SPY options in the main toolbar:
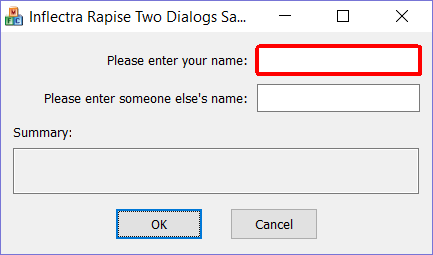
Now, click on the main SPY button and click CTRL+G to start tracking. When you hover over a field in your application, it should turn red:
Click CTRL+G again to Stop Tracking. You should see something like the following:
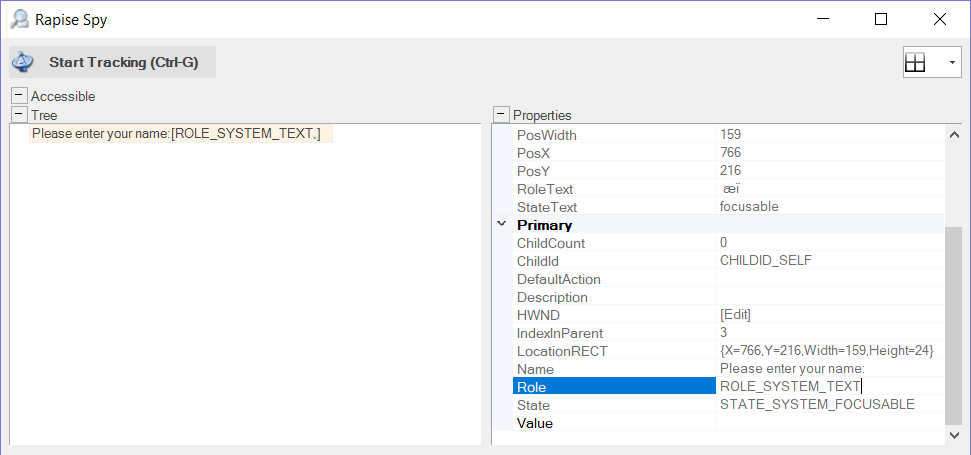
If you see something like this (with all the controls enumerated, with a Role and Name displayed) there is a good likelihood that it does support Microsoft Accessibility.
If on the other hand, you don't see the properties displayed above, then it means that your Delphi application does NOT support Microsoft Accessibility, and Rapise will NOT be able to record tests.
Suggestions for Improving Recognition
Here are some suggestions for improving the ability of Rapise to test your Delphi application:
1. Change the Control Display Mode
Delphi's Firemonkey controls have two modes - "styled" vs "platform":
The Platform option uses native Android/iOS/Windows controls while Styled - the default setting - paints things on a canvas. The "platform" advantage is better performance and leveraging of a native platform's controls and appearance. The "styled" advantage is being able to uniformly skin an app.
With "styled", Rapise can't detect the control. But with "platform" Rapise should be able to detect the object.
So we recommend for Delphi/C++ FireMonkey apps, that "ControlType must be set to Platform."