Prerequisites
macOS
You will need a computer with macOS or Windows. In this article we'll be using macOS.
https://www.apple.com/macos
[macOS 14.4 Sonoma]
Android Studio
On this computer install Android Studio.
https://developer.android.com/studio
[Android Studio Iguana | 2023.2.1 Patch 2]

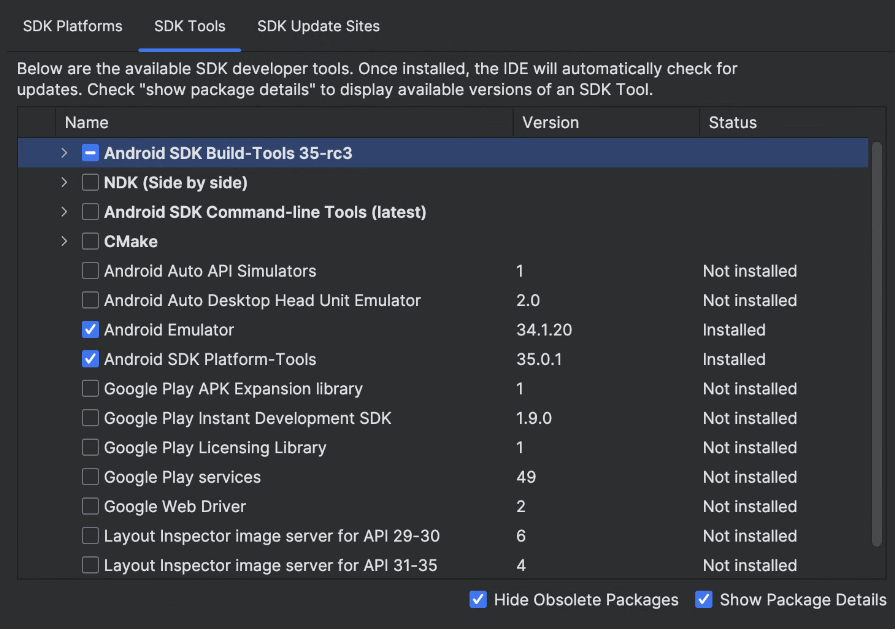
Manage SDK packages via Tools > SDK Manager.
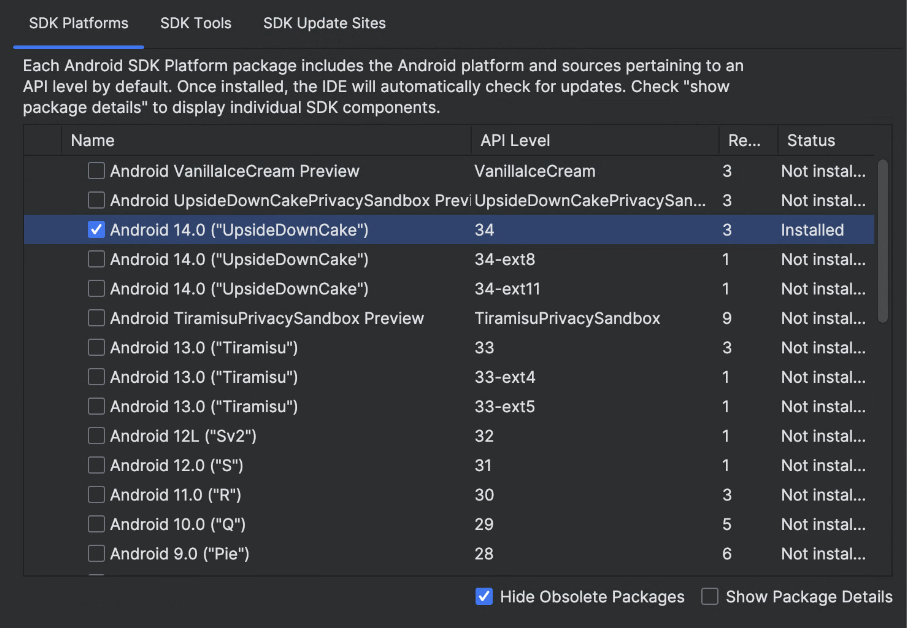
Manage Virtual Devices via Tools > Virtual Devices. Create a new device using latest SDK.
NodeJS
We recommend to manage NodeJs (node) with Node Version Manager (nvm).
https://github.com/nvm-sh/nvm
[nvm 0.39.7]
https://nodejs.org/en
[NodeJS 18.19.1]
nvm
1. Run the command
curl -o- https://raw.githubusercontent.com/nvm-sh/nvm/v0.39.7/install.sh | bash

2. If in the output you see that the installation script failed to update the profile file, because it is missing, create one with the command
touch ~/.zshrc
3. If you did the step #2 then rerun the step #1
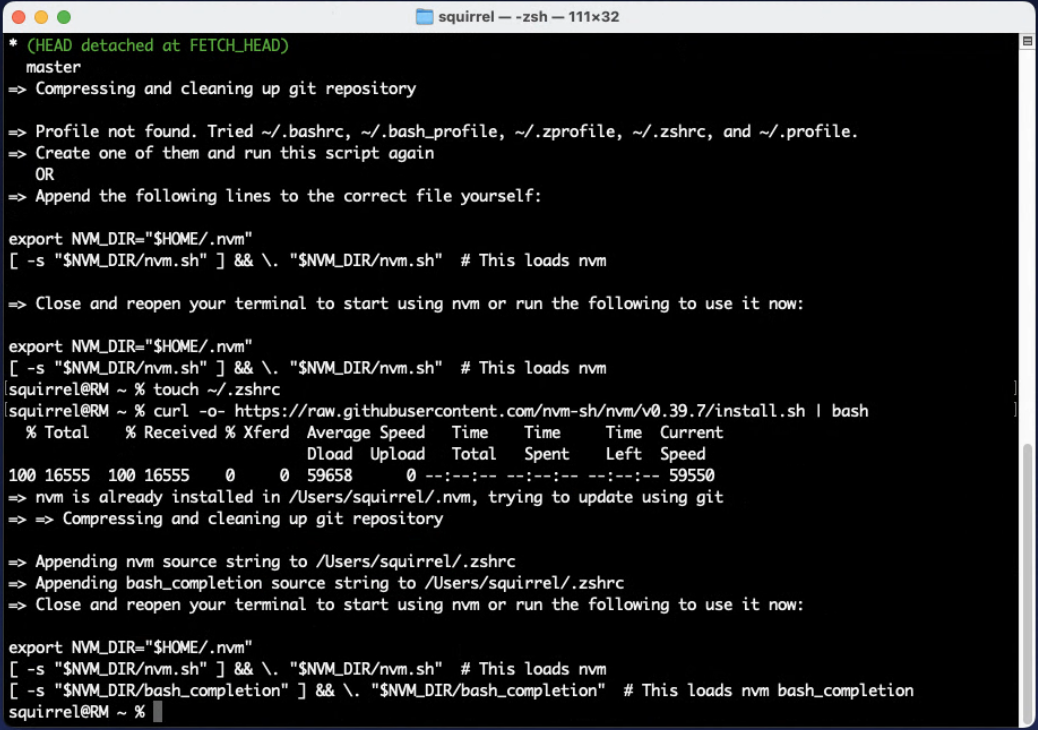
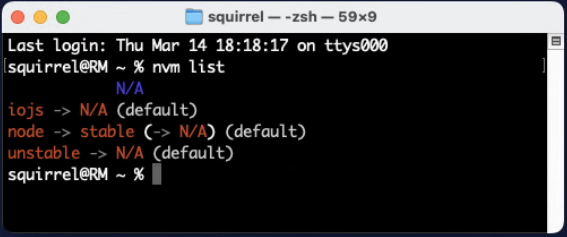
4. Reopen the terminal as suggested in the output. Verify that nvm is installed with the command
nvm list
node
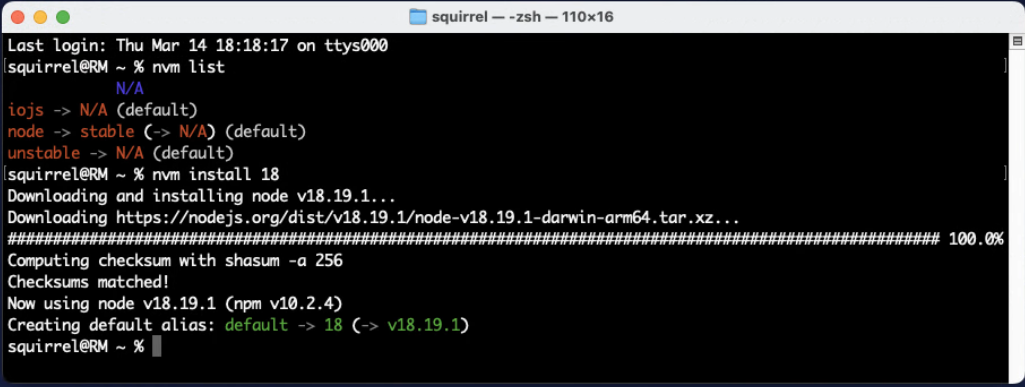
Install node with the command
nvm install 18
It will install the latest build of NodeJS 18. In our case it was 18.19.1
Appium
http://appium.io/
[Appium 2.5.1]
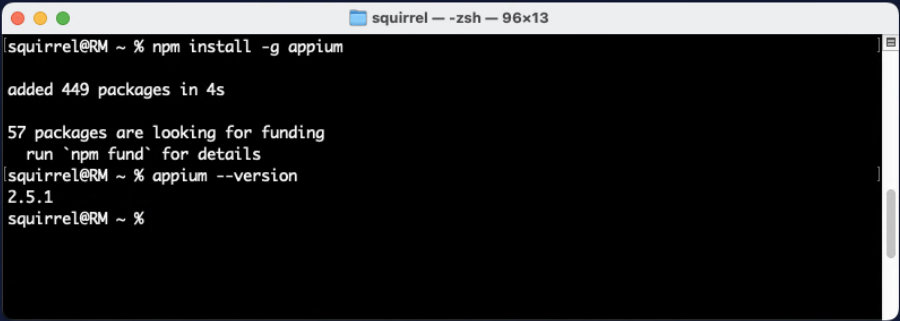
Appium is the bridge between Rapise and mobile simulators and devices. The easiest way to install it is to use Terminal.
npm install -g appium
Verify installation with
appium --version
Next step is to install the UIAutomator2 driver for Android.
https://appium.io/docs/en/latest/quickstart/uiauto2-driver/
https://github.com/appium/appium-uiautomator2-driver
appium driver install uiautomator2
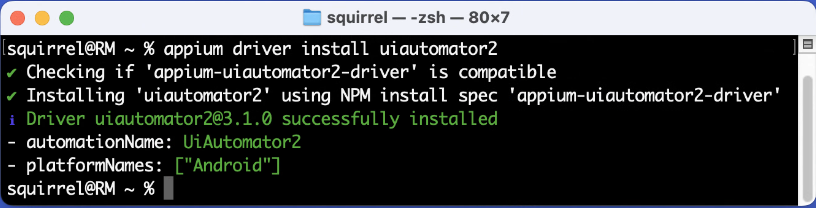
[UIAutomator2 3.1.0]
Let's now validate proper environment setup for Android automation.
appium driver doctor uiautomator2
If you do it for the first time the output may contain some errors.
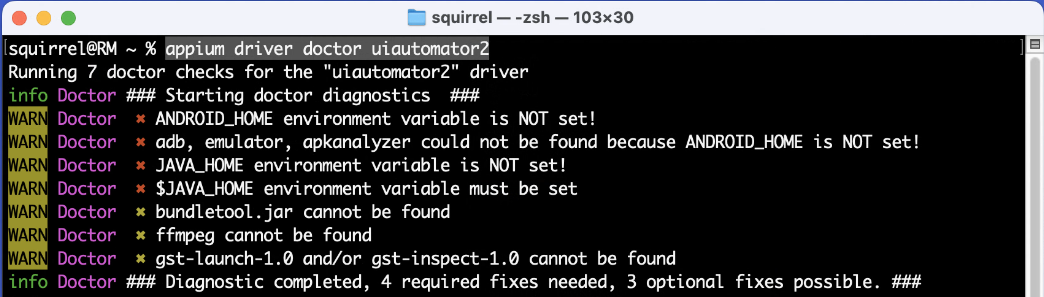
A common issue is related to missing ANDROID_HOME and JAVA_HOME variables. They should be set in user profile (.zshrc or .zprofile).
https://developer.android.com/tools/variables
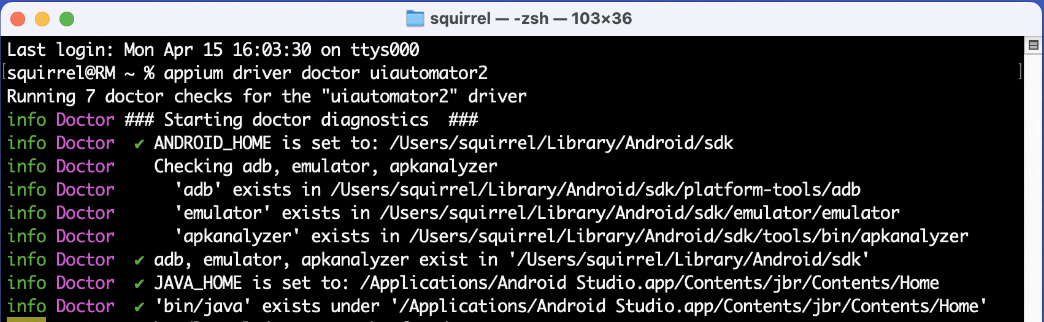
export ANDROID_HOME=~/Library/Android/sdk
export PATH=$PATH:$ANDROID_HOME/tools:$ANDROID_HOME/tools/bin:$ANDROID_HOME/platform-tools
export JAVA_HOME=/Applications/Android\ Studio.app/Contents/jbr/Contents/Home
export PATH=$JAVA_HOME/bin:$PATH
Here we use JDK bundled with Android Studio. Run the doctor again.
Sample Application
We published a sample application on GitHub. Clone the repository and build with Android Studio.
https://github.com/Inflectra/AUTAndroid
To clone the repository, run the commands in the terminal:
# Go to the Home directory
cd ~
# Create the Development directory inside it
mkdir Development
# Go to the Development directory
cd Develoment
# Clone the repository
git clone https://github.com/Inflectra/AUTAndroid.git
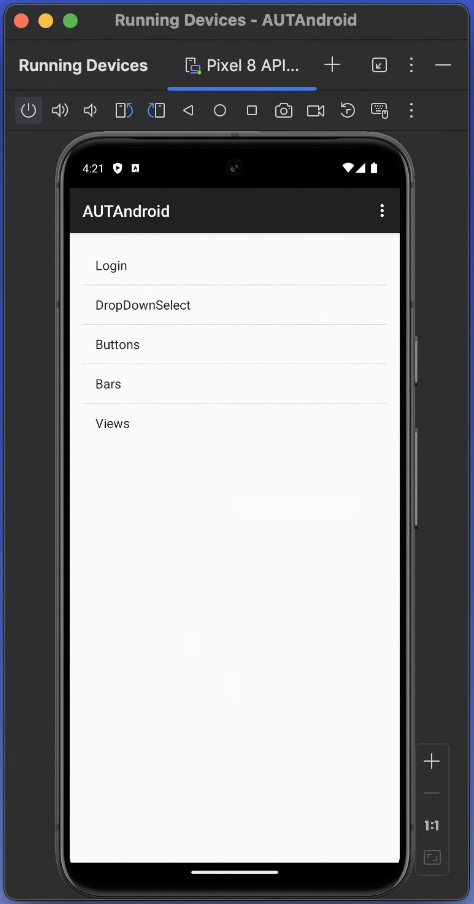
Open the project in Android Studio.
Run it on an emulator.
Connecting to Android Emulator from Rapise
We will now configure a Rapise test, run Appium and connect to the emulator.
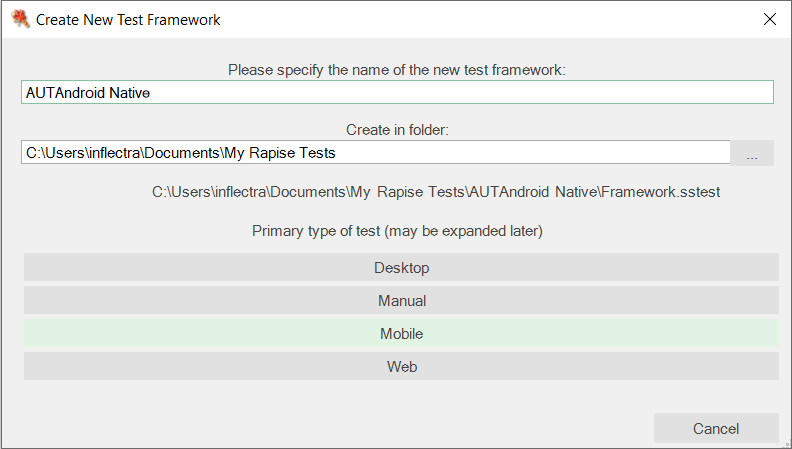
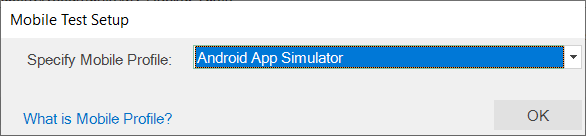
Choose Android App Simulator profile.
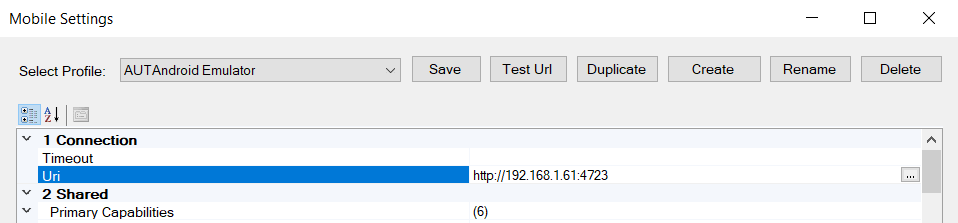
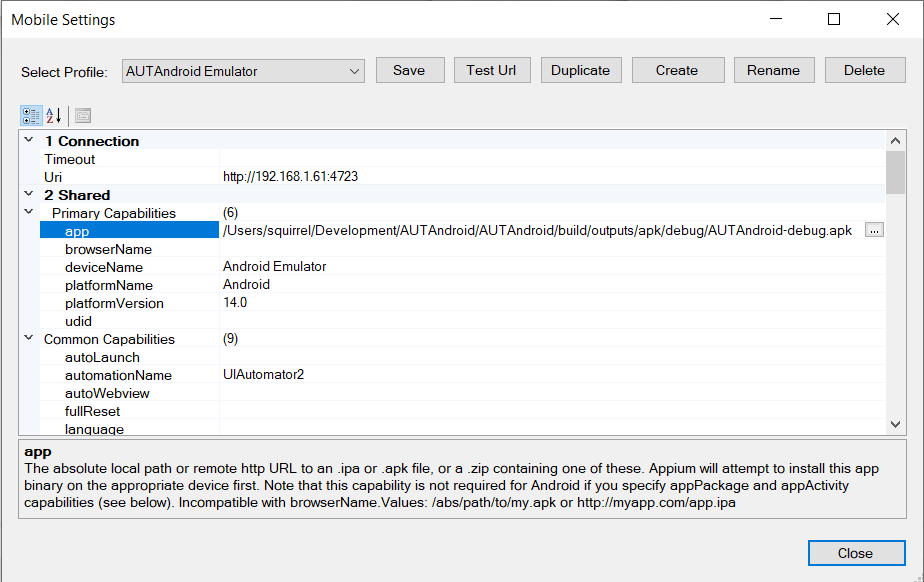
Open the Mobile Settings dialog.
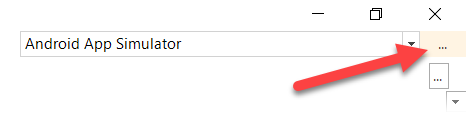
Click Duplicate button to create a framework specific mobile profile.

Set the name AUTAndroid Emulator and click OK.

On the macOS machine open the terminal and start Appium with the command
appium
It will print the Appium URL that we should use in the mobile profile configuration in Rapise.
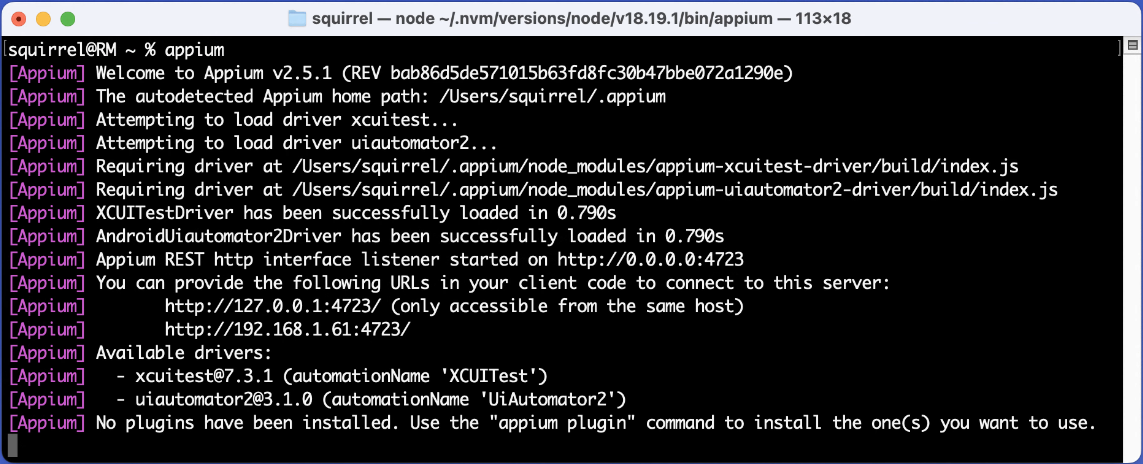
Remove the trailing slash from the URL
http://192.168.1.61:4723
Let's now gather all necessary information about our emulator and application.
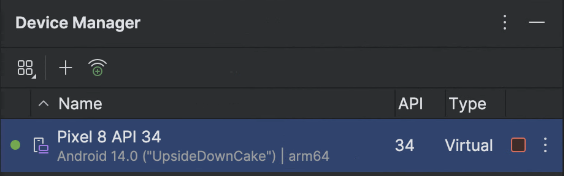
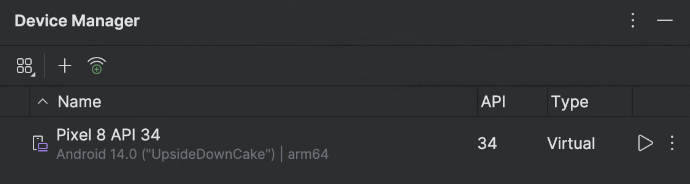
Device Name
Pixel 8 API 34
Android Version
14.0
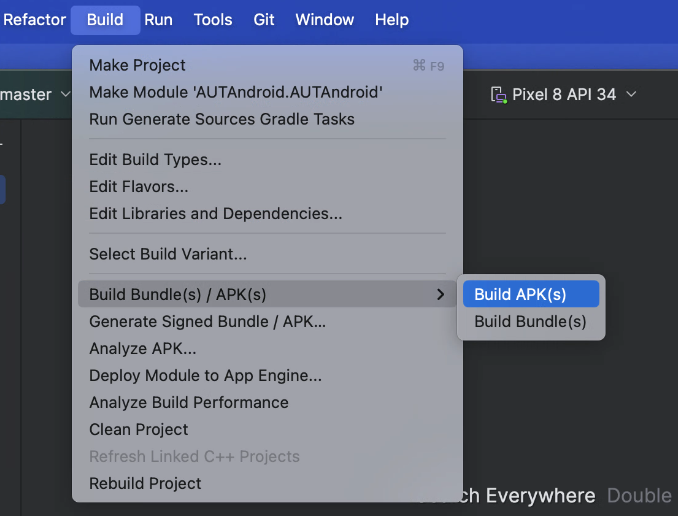
Application Path
First build APK file.
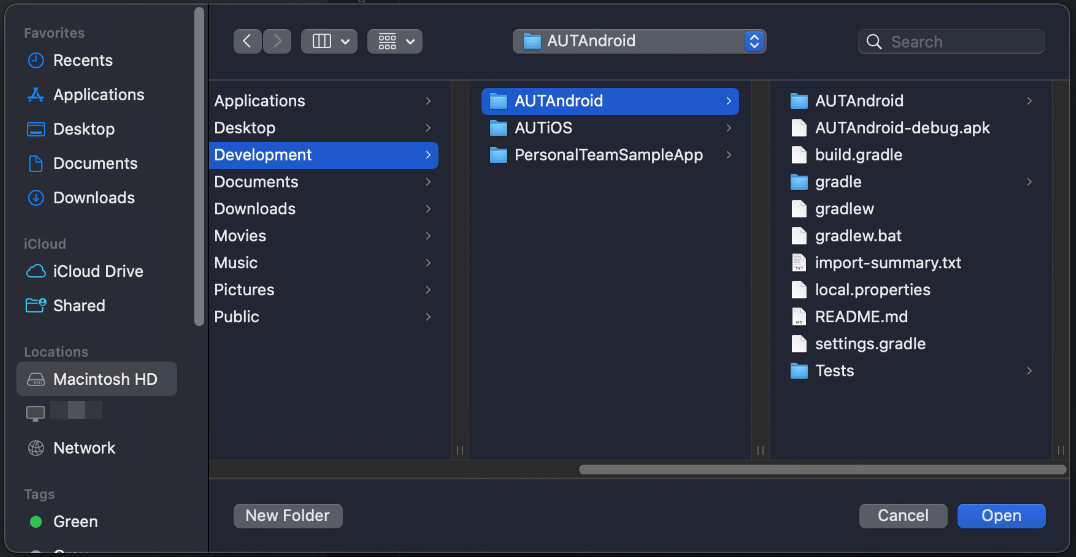
When build is completed find the notification message in the bottom right corner of Android Studio and click `locate`.

A Finder window will be opened.
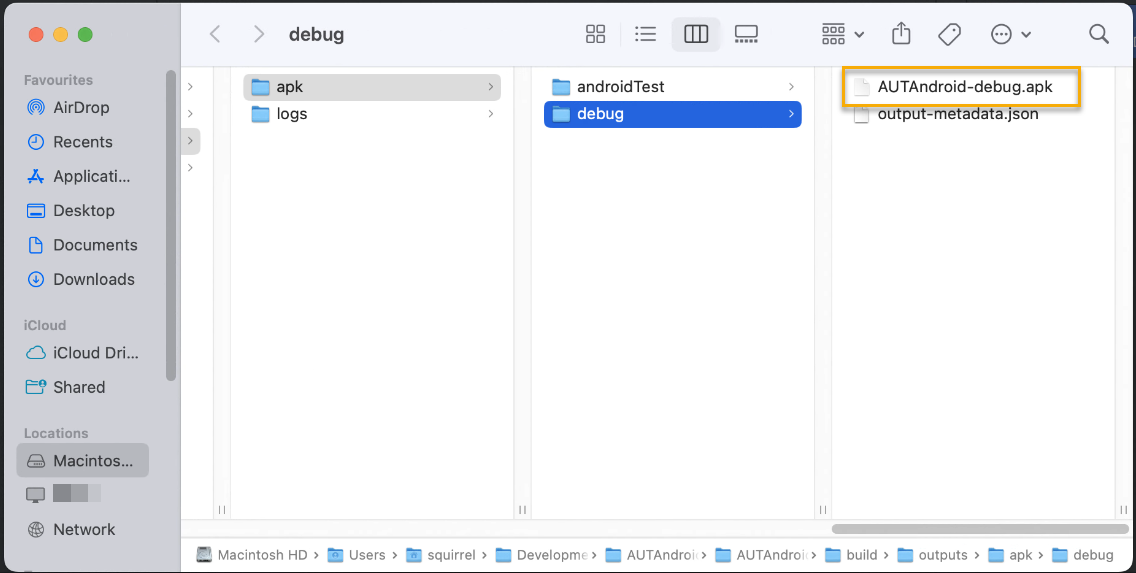
Drag & drop the APK file to a terminal window to capture the full path to the application.

Copy the value and transfer to the machine where Rapise is installed.
/Users/squirrel/Development/AUTAndroid/AUTAndroid/build/outputs/apk/debug/AUTAndroid-debug.apk
Let's now finish the configuration of the mobile profile.
Click Close button, create new Test Case in Rapise and start the Mobile Spy from the toolbar. If during test creation you will be prompted to select a mobile profile, choose any profile (anyway the global profile of the framework is always used). If another Spy is selected switch to the Mobile Spy first (use the dropdown triangle icon on the right side of the Spy button).
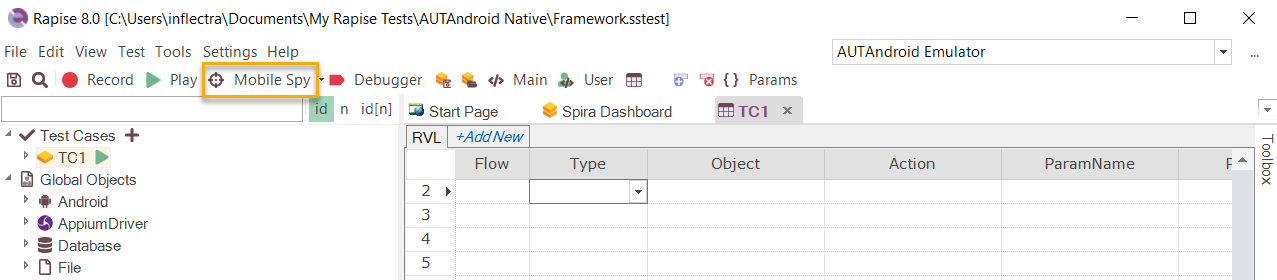
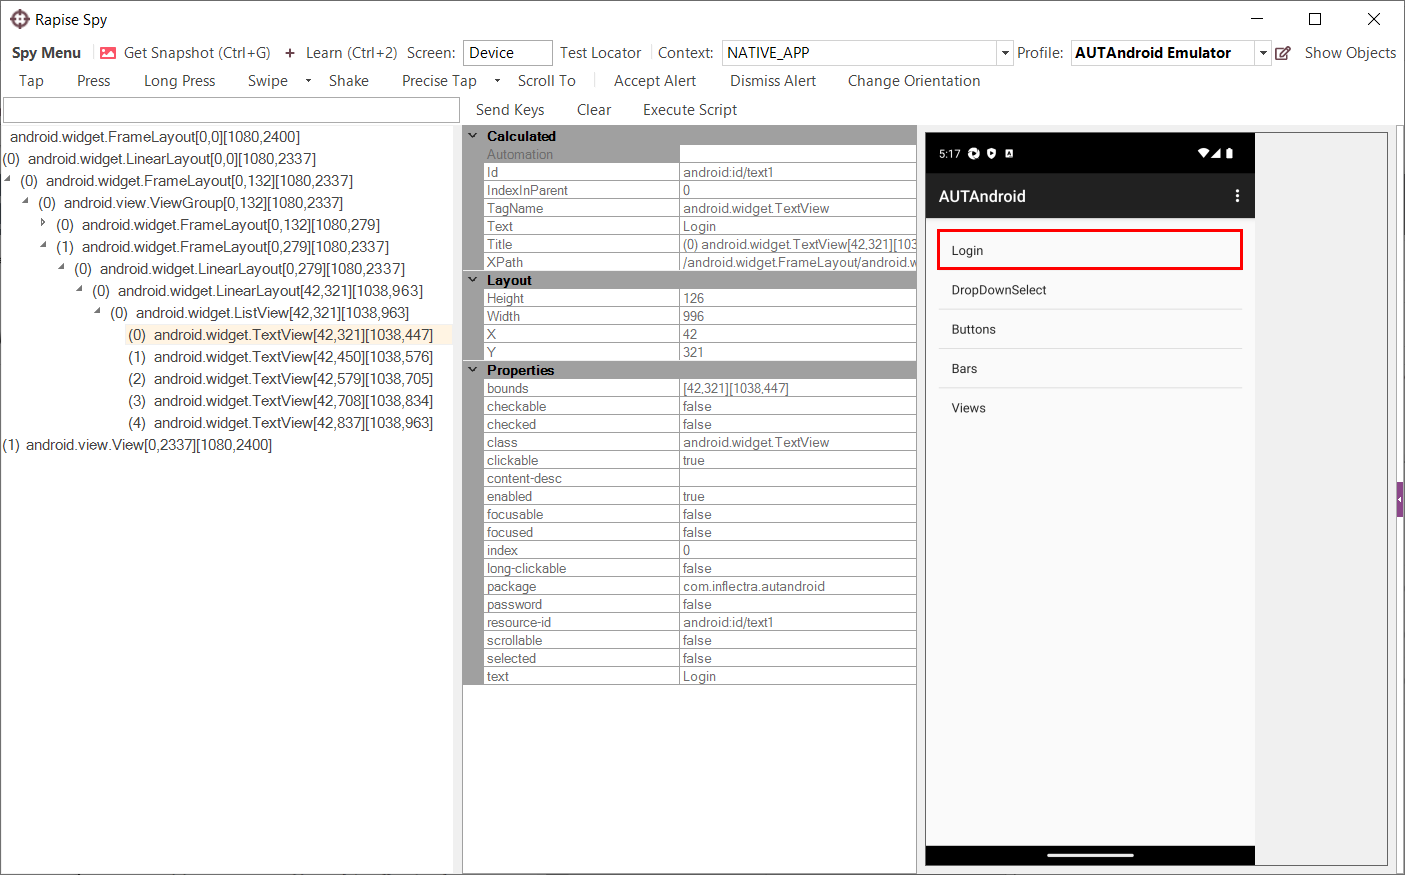
In the Mobile Spy click Get Snapshot button. If everything is OK then on the macOS host you will see Appium log messages running in the terminal and after a while the application will appear on the emulator.
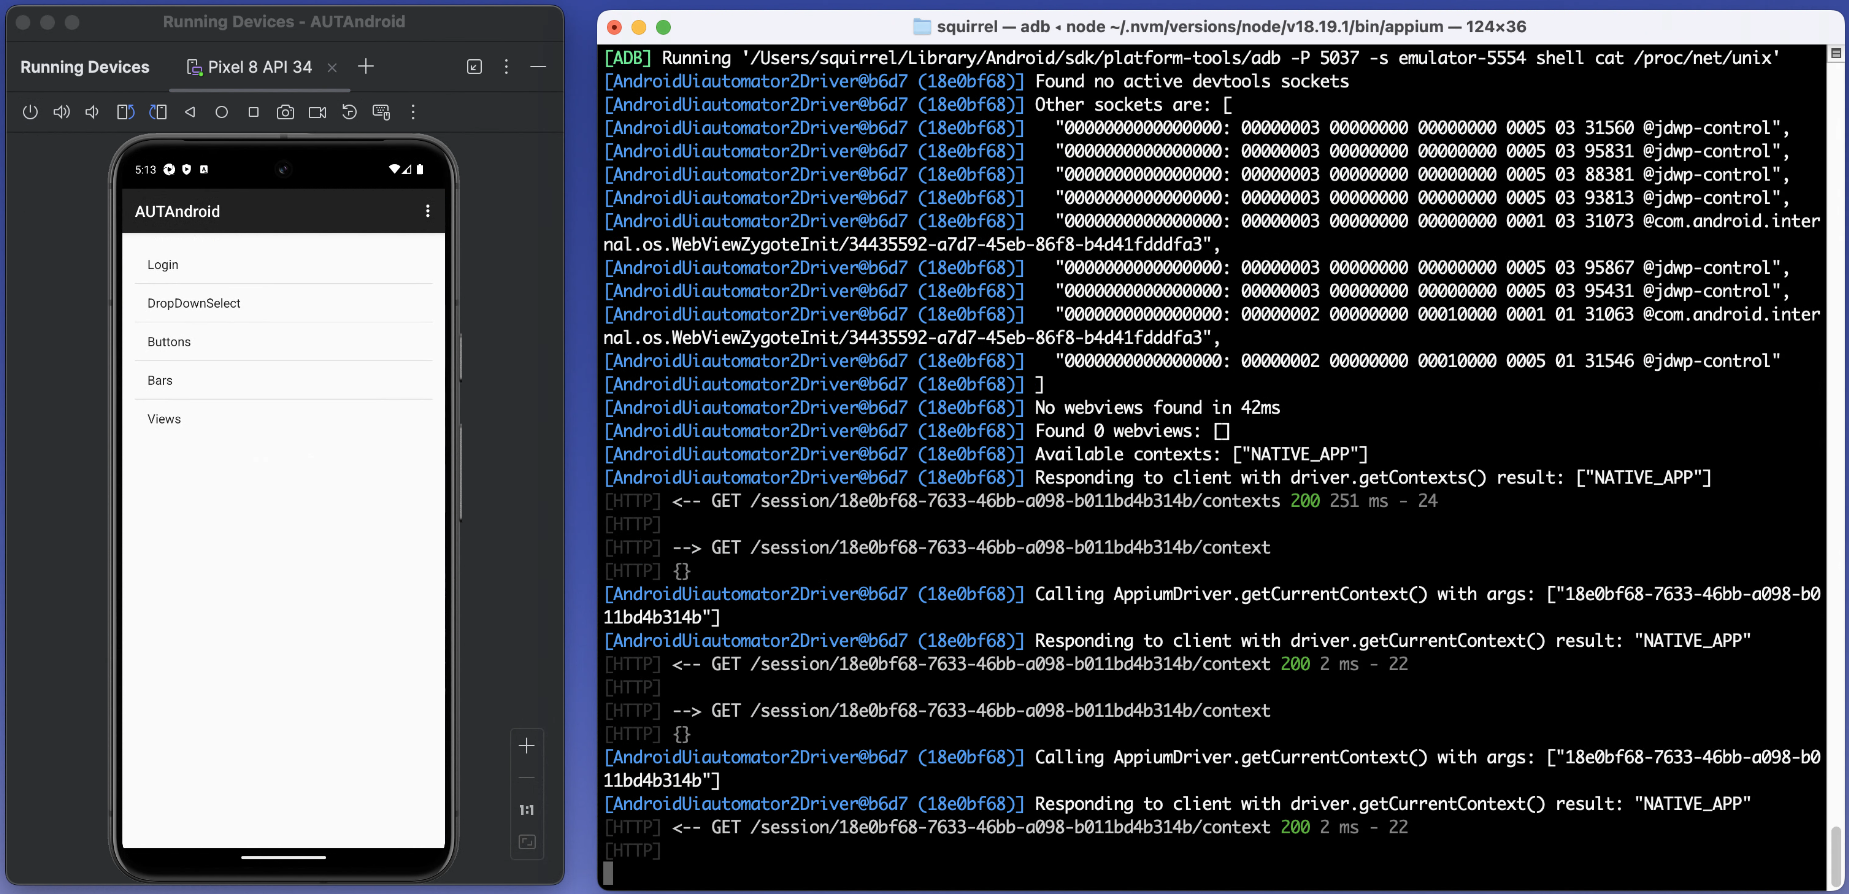
In the Mobile Spy you will see the application as well.
Real Devices
First let's enable developer options on a device.
https://developer.android.com/studio/debug/dev-options
We'll follow the steps for Google Pixel 8.
1. Navigate to Settings > About phone > Build number and tap the build number 7 times until you see the message You are now a developer! This enables developer options on your device.
2. Navigate to Settings > System > Developer options and turn on USB Debugging.
Plug the phone to the machine with Android Studio and verify the device is visible by ADB.
adb devices
You may see the following output
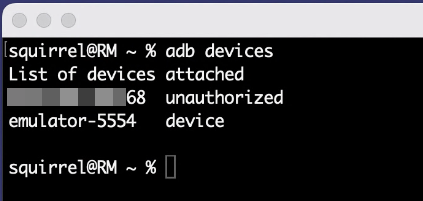
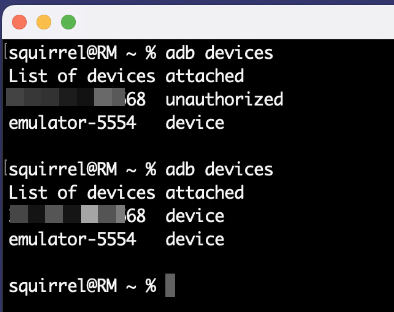
If you notice that the device is unauthorized then check out the device screen. Most likely you need to confirm that USB Debugging should trust the machine with Android Studio. When all permissions and trust settings are ok you should see the following:
Try to run the application on the device using Android Studio.

Connecting to Real Device from Rapise
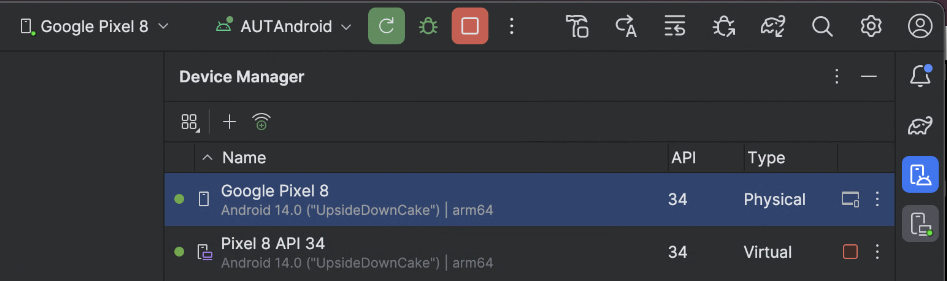
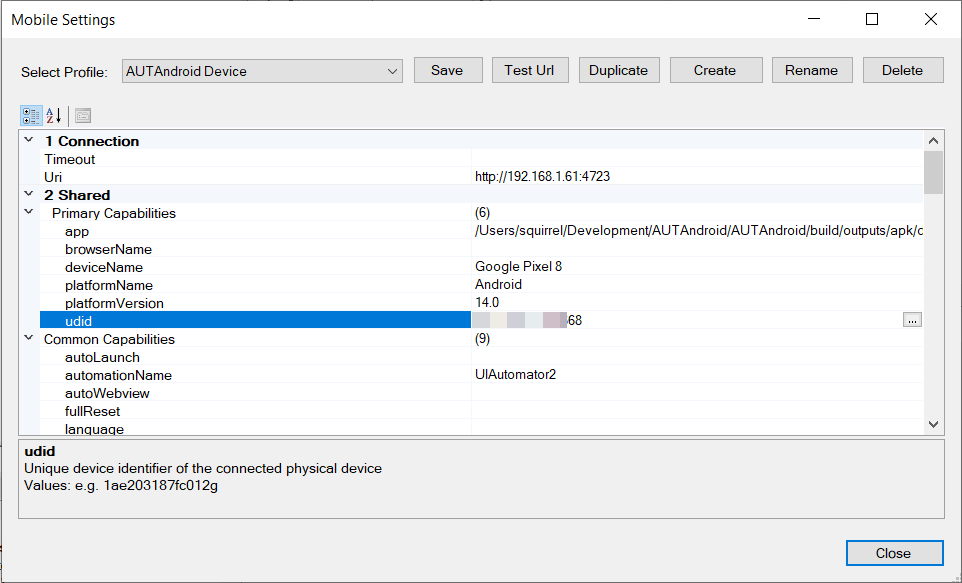
Let's now create a copy of AUTAndroid Emulator profile and name it AUTAndroid Device. Let's change the device name to Google Pixel 8 like displayed in the Device Manager and also set udid to tha value from adb devices output. You may need to build the APK again like you did for the Emulator.
We can now launch the Mobile Spy and connect to the device and see the application inside the Spy.
