Before Running Tests with RapiseLauncher
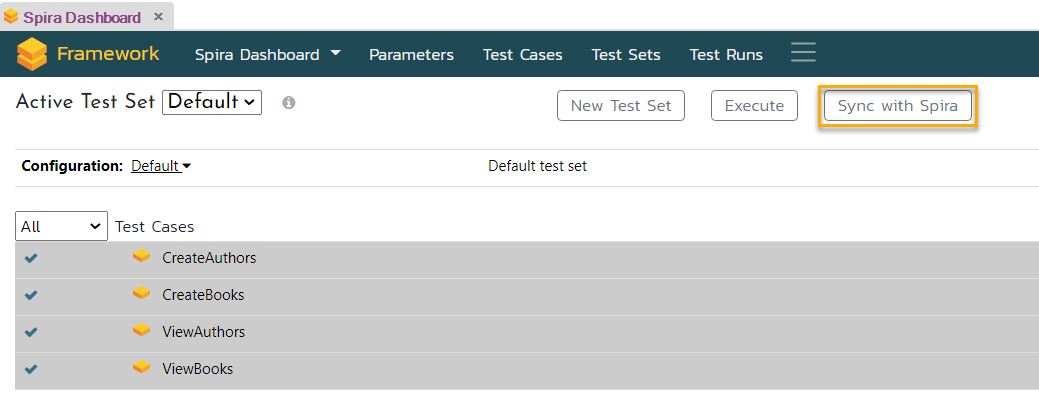
Before executing tests using RapiseLauncher, ensure that you have saved any recent changes by clicking the Sync with Spira button on the Framework page of the Spira Dashboard. This action will synchronize your changes with SpiraTest.
Remember to commit and push your changes if you are storing files in Git.
Creating a New Test Case
When creating a new test case that needs to be included in a test set, it is recommended to first Sync with Spira.
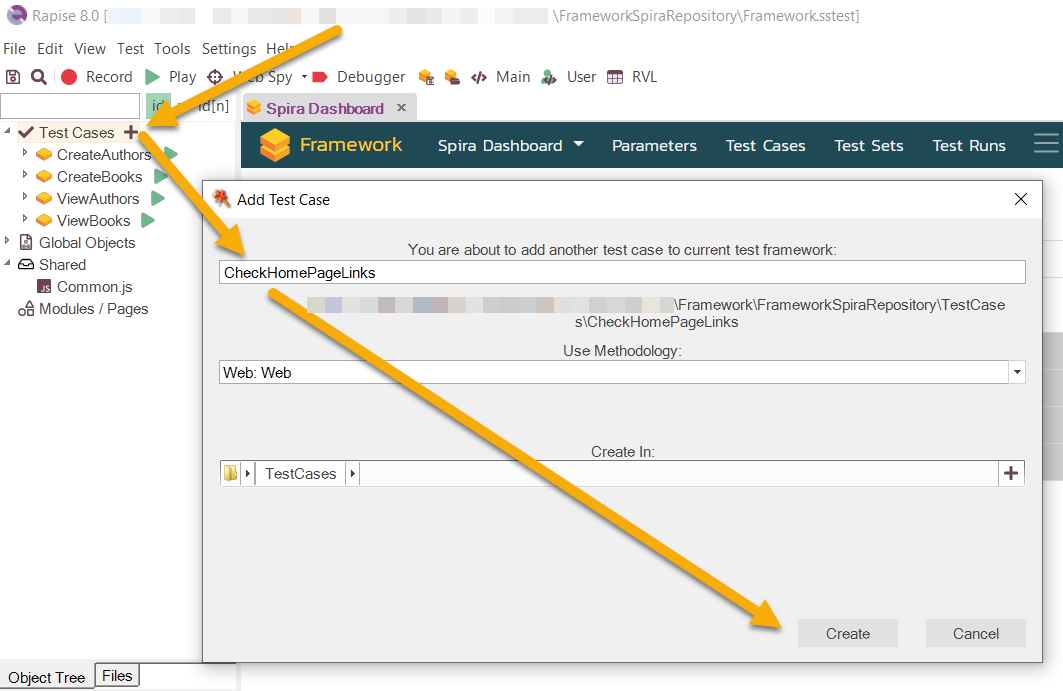
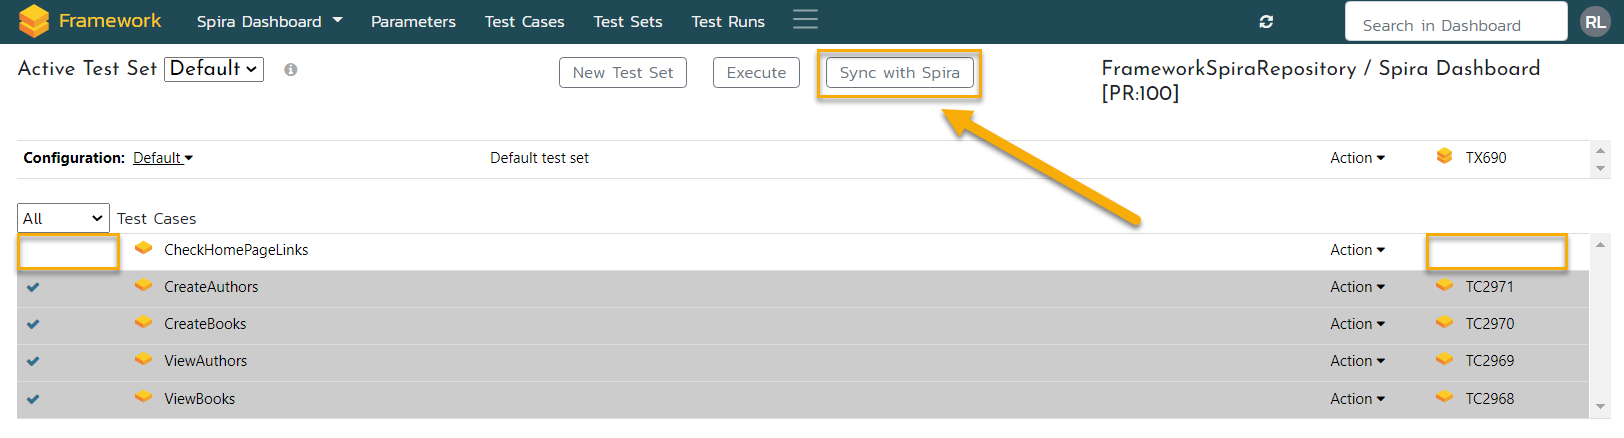
This operation will create a corresponding test case in SpiraTest, and you will see a checkbox next to the test case name.
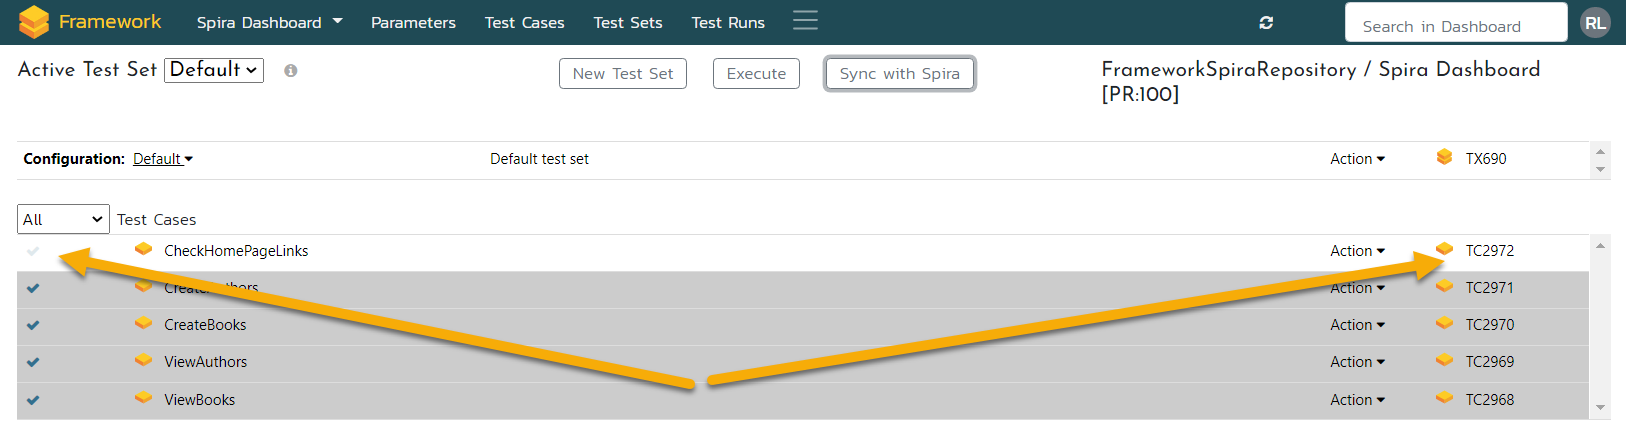
Select the checkbox and perform another Sync with Spira to update the test set definition in SpiraTest.
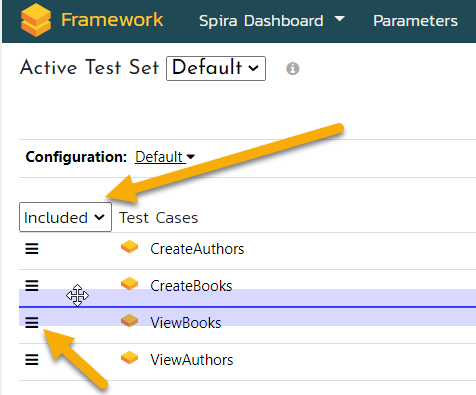
Changing Test Set Sequence in a Test Set
If you wish to change the sequence of test cases within a test set, switch the test case display mode to Included. In this mode, you will see a plain list of included test cases without the folder structure. You can then reorder the test cases using drag and drop.
Reverting Local Changes
If you need to revert any local changes, you can use the Sync with Spira button and make adjustments in the Synchronize Files dialog. Here, you can change the action to Download for the files you wish to revert. Uncheck the files that you do not want to modify.

For Git-based repositories, please use Git tools.
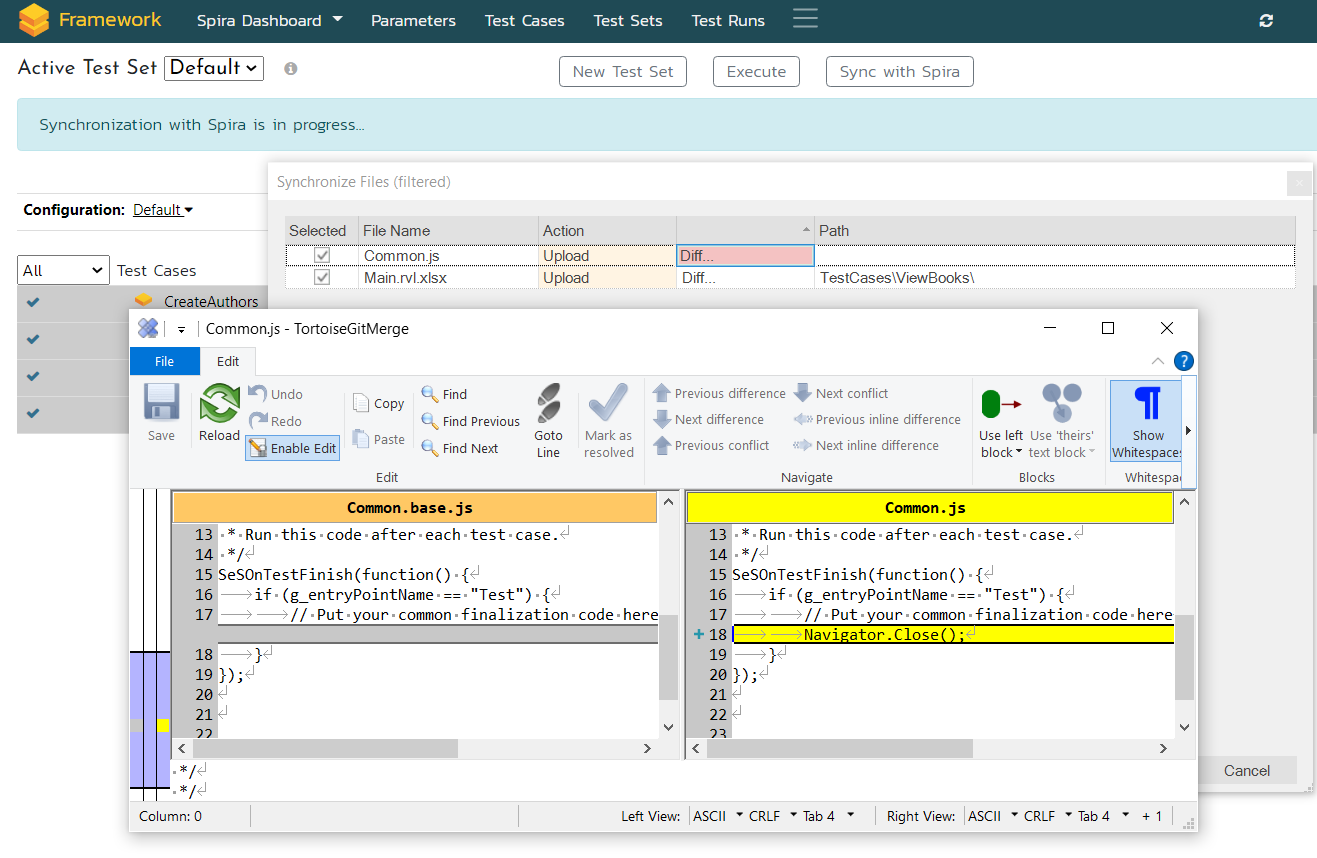
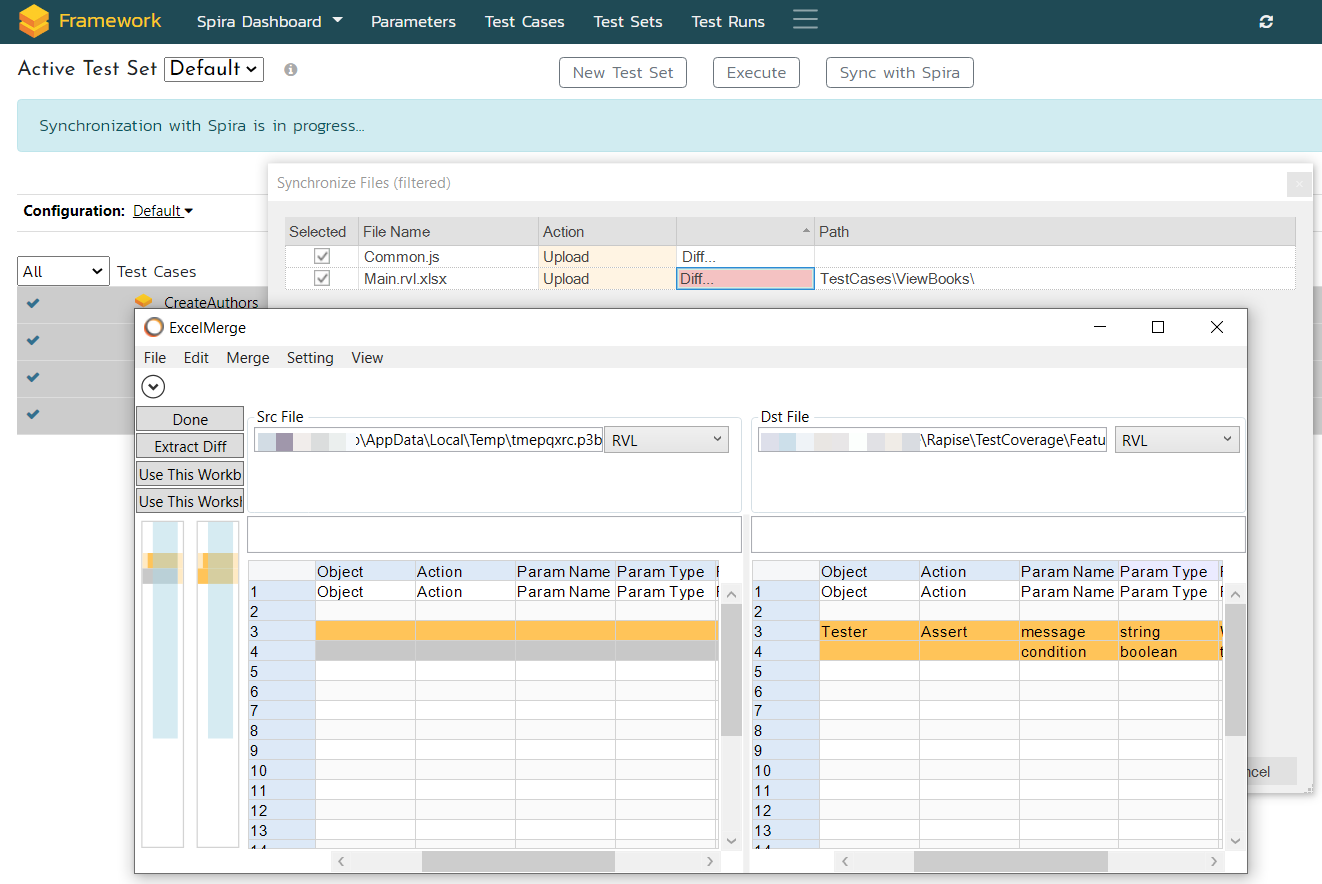
Viewing Differences
To compare the differences between the local and server file versions, utilize the Diff button. This allows you to see the variations between the two versions.