Background
Spira custom reports consist of one or more custom sections, each with its own ESQL query and XSLT template. By adding a first section specifically for the cover page, you can create a branded, professional-looking title page that appears before the actual report data.
Steps
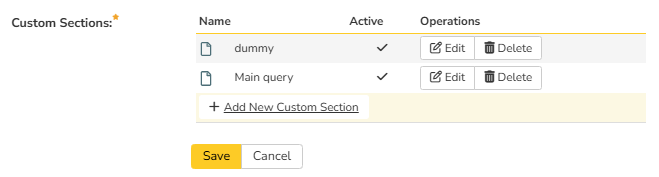
1. Create the Cover Page Section
In your custom report, add a new custom section (name it something like "Cover Page" or "dummy") and position it as the first section in the report.
2. Add the Dummy ESQL Query
The cover page section doesn't need real data — it just needs to return one row so the XSLT template executes.
Use this minimal query:
select 1 as DUMMY
from SpiraTestEntities.R_Projects as P
where P.PROJECT_ID = ${ProjectId}
3. Add the Cover Page XSLT Template
Use the following XSLT template. It renders a full-page cover with:
- A company logo (embedded as base64)
- A report title and subtitle
- A decorative divider
- Metadata fields (author, department, classification)
- A footer
<?xml version="1.0" encoding="utf-8"?>
<xsl:stylesheet version="1.0" xmlns:xsl="http://www.w3.org/1999/XSL/Transform" xmlns:msxsl="urn:schemas-microsoft-com:xslt" exclude-result-prefixes="msxsl">
  <xsl:template match="/RESULTS">
    <style>
      <![CDATA[
      .cover-page {
        page-break-after: always;
        display: flex;
        flex-direction: column;
        align-items: center;
        justify-content: center;
        min-height: 90vh;
        text-align: center;
        font-family: 'Segoe UI', Arial, sans-serif;
        -webkit-print-color-adjust: exact;
        print-color-adjust: exact;
      }
      .cover-logo {
        max-width: 280px;
        margin-bottom: 40px;
      }
      .cover-title {
        font-size: 32px;
        font-weight: 700;
        color: #2c3e50;
        margin-bottom: 12px;
      }
      .cover-subtitle {
        font-size: 18px;
        color: #555;
        margin-bottom: 40px;
      }
      .cover-meta {
        font-size: 14px;
        color: #777;
        line-height: 1.8;
      }
      .cover-divider {
        width: 120px;
        height: 3px;
        background-color: #3498db;
        margin: 30px auto;
      }
      .cover-footer {
        margin-top: 60px;
        font-size: 12px;
        color: #999;
      }
      ]]>
    </style>
    <div class="cover-page">

 <!-- LOGO: Embedded as base64 to avoid URL resolution issues -->

      <img class="cover-logo" alt="Company Logo">
        <xsl:attribute name="src">
          <xsl:text>data:image/png;base64,YOUR_BASE64_STRING_HERE</xsl:text>
        </xsl:attribute>
      </img>

      <div class="cover-title">Your Report Title Here</div>
      <div class="cover-subtitle">Your Subtitle or Description Here</div>

      <div class="cover-divider"></div>

      <div class="cover-meta">
        <div>Prepared by: Your Team</div>
        <div>Department: Your Department</div>
        <div>Classification: Internal</div>
      </div>

      <div class="cover-footer">
        Generated from SpiraPlan | Confidential
      </div>
    </div>
  </xsl:template>
</xsl:stylesheet>
4. Embed Your Logo as Base64
Spira's report engine currently does not resolve relative or internal attachment URLs in XSLT custom sections.
Here we're proceeding with different approach - to include an image so to embed it as a base64-encoded data URI.
To get the base64 string for your logo:
1. Open the image in your browser (make sure you're logged into Spira if it's hosted there)
2. Right-click → **Save Image As** → save as `.png` or `.jpg`
3. Verify the saved file is actually an image (not an HTML login page)
4. Use an online converter (e.g., https://www.base64-image.de/) to convert the file to base64
5. Copy the resulting `data:image/png;base64,...` string
Important: In the XSLT, you must use `<xsl:attribute>` with `<xsl:text>` to set the `src` attribute. Do NOT put the data URI directly in a `src="..."` attribute — the XML parser will reject it because base64 strings can contain characters that look like XML markup.
<!-- CORRECT way to embed base64 image in XSLT -->

<img class="cover-logo" alt="Logo">
  <xsl:attribute name="src">
    <xsl:text>data:image/png;base64,iVBORw0KGgo...</xsl:text>
  </xsl:attribute>
</img>
5. Add Your Main Report Section(s)
After the cover page section, add one or more additional custom sections containing your actual report queries and XSLT templates. These will render after the cover page:
6. Reusing Across Reports
To reuse this cover page in other custom reports:
1. Create a new custom section as the first section
2. Use the same dummy ESQL query
3. Copy the XSLT template
4. Change only the title, subtitle, and metadata text
The logo, styling, and layout will remain the same across all reports.
7. Optional: Hide the Default Report Name
When you save a custom report in Spira, the system automatically displays the report's saved name as a heading above the content. If you're using a custom cover page with its own title, this default heading is redundant.
To hide it, add the following line to the <style> block in your cover page XSLT template:
<style>
  .Title1 { display: none; }
</style>
Just drop that <style> block into the first custom section's XSLT template, right after <xsl:template match="/RESULTS">. It only needs to be in the first section — it'll apply to the whole rendered page.
Note: this works with HTML format only.
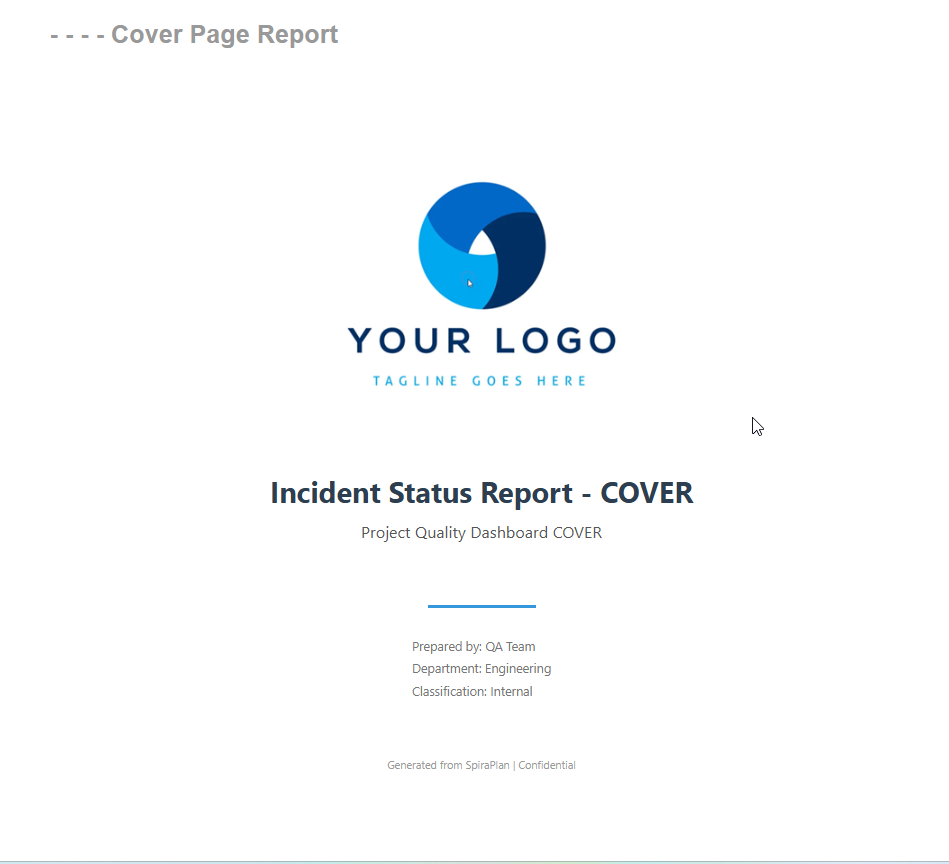
8. Final Result
You should be able to get the report with a cover page, similar to this: