September 19th, 2014 by Adam Sandman
With our test automation tool - Rapise, you have a powerful and flexible automation engine for your QA projects. One of the reasons it is so powerful is that it is easy to get started and develop your first test, delivering results right away.
There are a few methods for creating the first test, in this case I am going to discuss the simplest, learning an application through user interaction. This is using an application in much the same way as you would if you were testing manually, but with the recorder running in the background, delivering script for every action and keystroke you make. While this may sound like a macro recording tool, it is actually much more powerful than that.
Underneath the Hood
We will create a sample test shortly, but first I want to explain what is happening behind the scenes. A brief understanding of some of the inter-workings will assist you in successfully creating your first test.
Rapise will flash areas of the screen that you are using and will notify you of the fact that it has encountered a record-able action, this is your visual indication that the process worked and the general order in which actions will be created. Under the covers Rapise has looked at the area of action, determined the type of object being interacted with, and made a best selection of recognition technology so that it can find the object next time. Along with this Rapise is taking notes as to the type of action; user input, click, activation, etc…
How Does it Find Controls?
Depending on the decided type of recognition, Rapise will determine the position of the object on test run and utilize the previously recorded data to interact with the object. Once case and example of this is the accessibility controls available through windows, in that case Rapise climbs down a ladder starting with the window name, parent object, type of object, the objects numerical representation, and finally the objects name. By following this path Rapise can appropriately identify the object at runtime. This is a little simplification nut it gets the point across.
I did refer to other types of recognition, not only do we have active accessibility, but we have DOM, XPath, control specific, Java, and many more. Actually I should restate this, the list is endless in that the technology for recognition is open, and users have the ability to extend the ways that Rapise recognizes objects.
A Sample Exercise
As an exercise, I would ask you to take a few steps to see how easy it is to record a test and replay it:
1. Open Microsoft calculator

2. Open Rapise:

3. Click on the Record/Learn button:
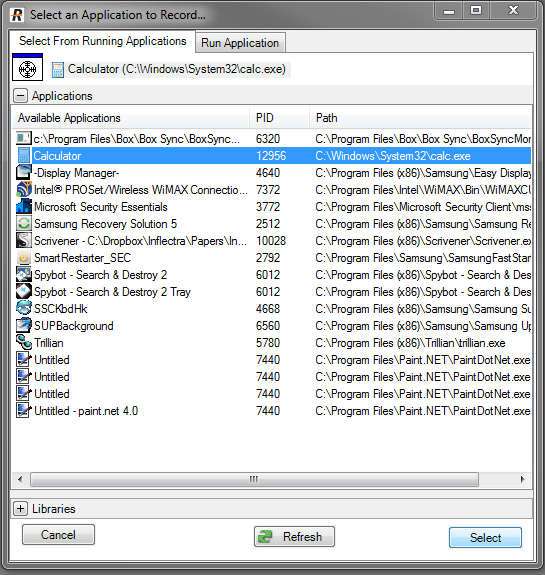
4. Wait for the Select and Application window to appear:

5. Click on Calculator and Select:
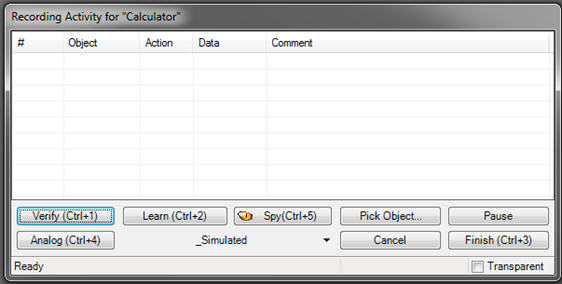
6 Wait for the Recording Activity window:
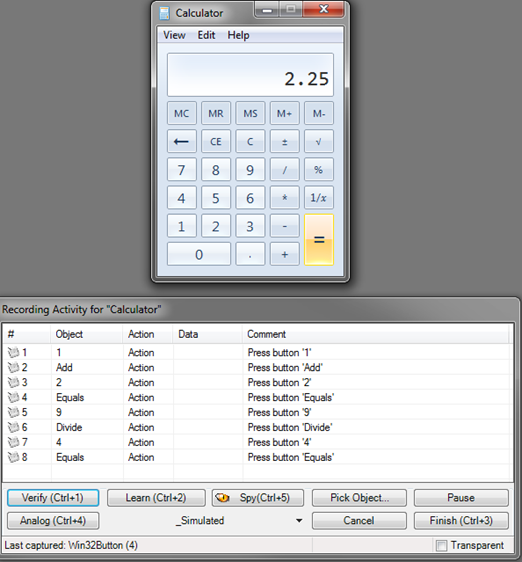
7. Start using the Calculator and watch for the changes in the Recording Activity Window:
8. Click the Finish button in the Recording Activity window:
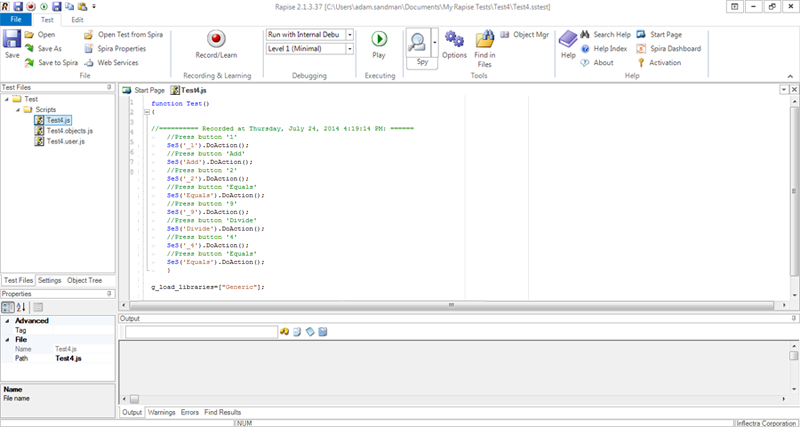
9. You will return to Rapise to view your newly recorded test:
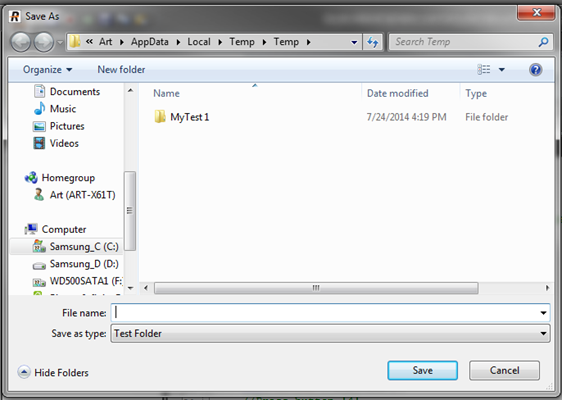
10. Press Save and give your test a name:
11. Click Play and watch the results:
That is enough to get started. You see it is very easy to create a test in Rapise using the built in recording features, just learn and interact with the application. In future exploration we will go into other learning methods, validation, modification of the test, and advanced topics like action parameterization. Please feel free to ask us any questions you may have and advance you knowledge by reading the help files and online resources devoted to Rapise at https://www.inflectra.com/Rapise/.